Making an Explosion Effect


Materials needed:

Fiber Fill (those found in stuffed toys)
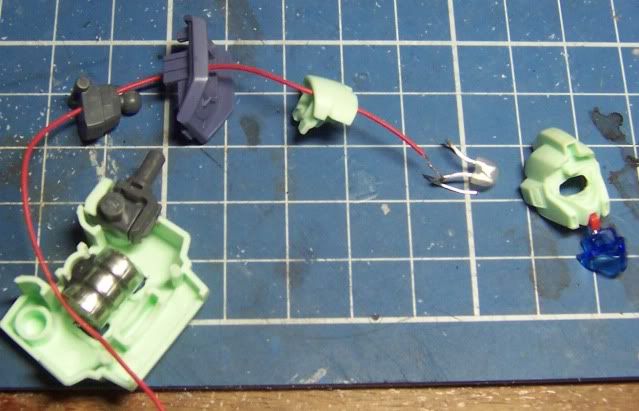
LEDs

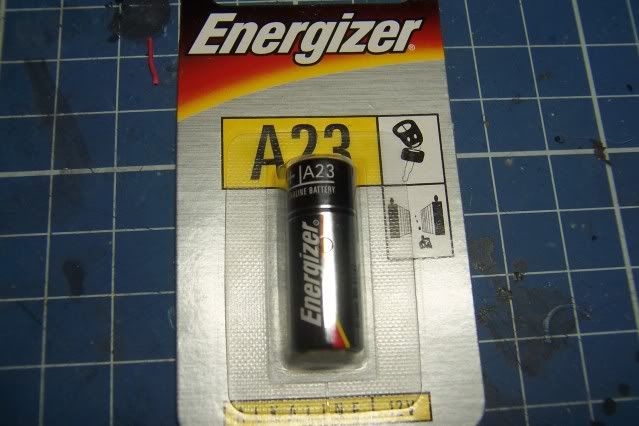
Button cell battery (CR2032)

a couple of strong little magnets

some paint

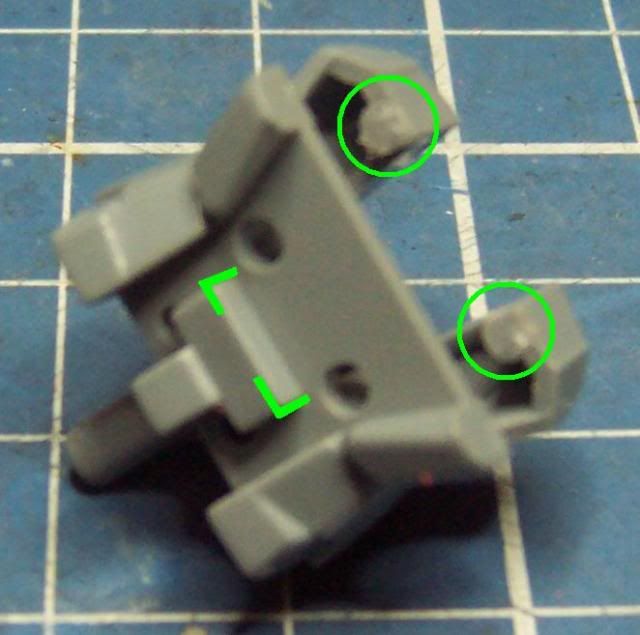
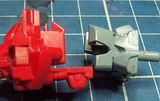
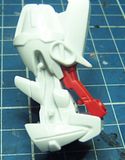
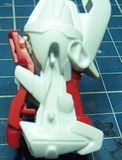
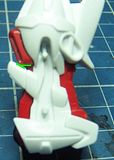
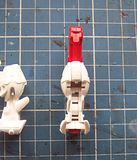
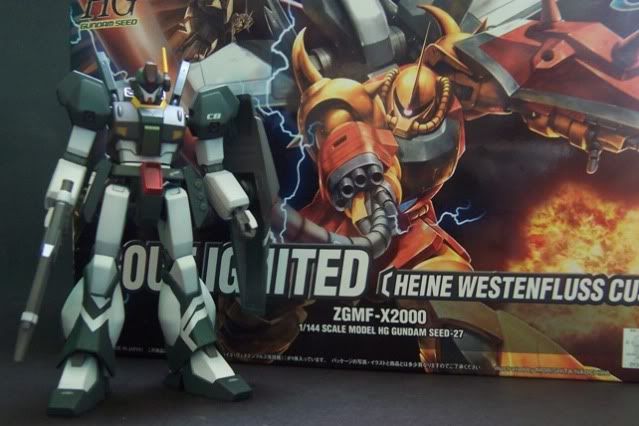
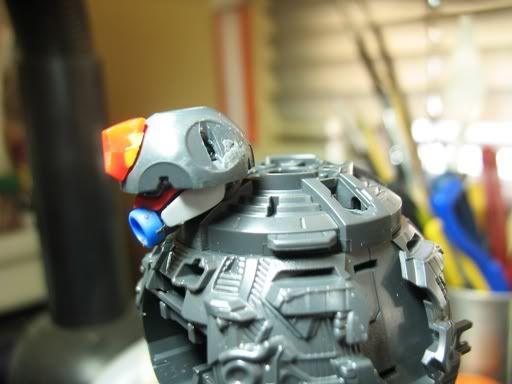
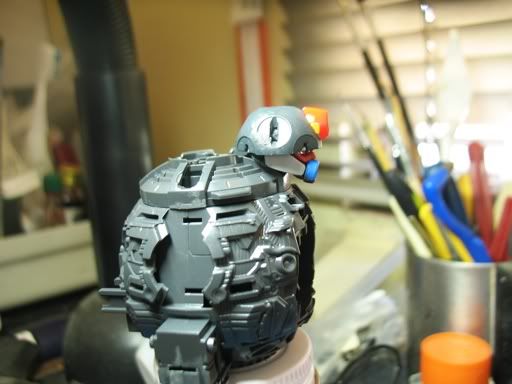
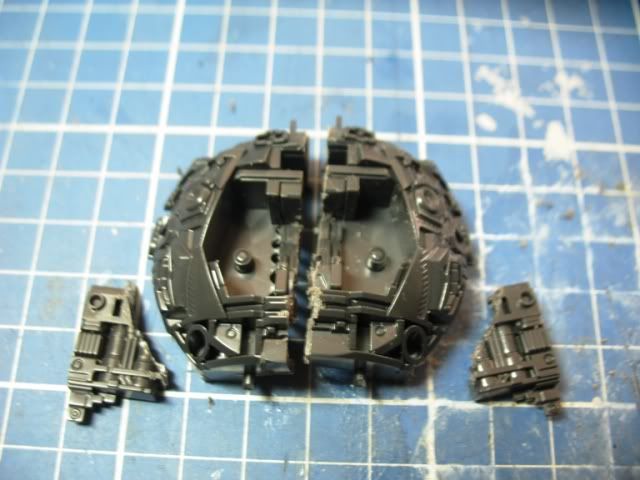
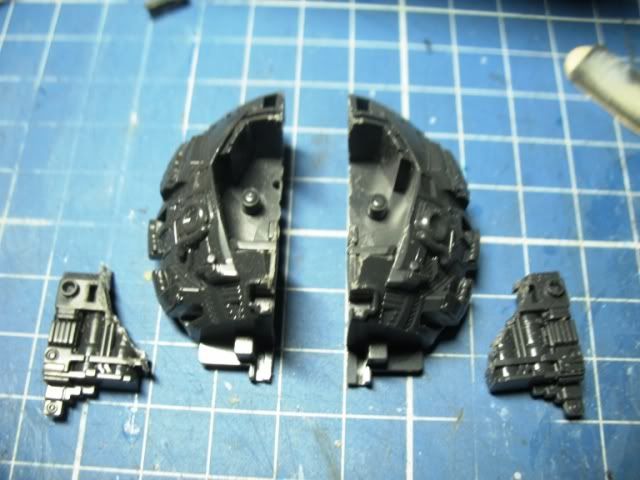
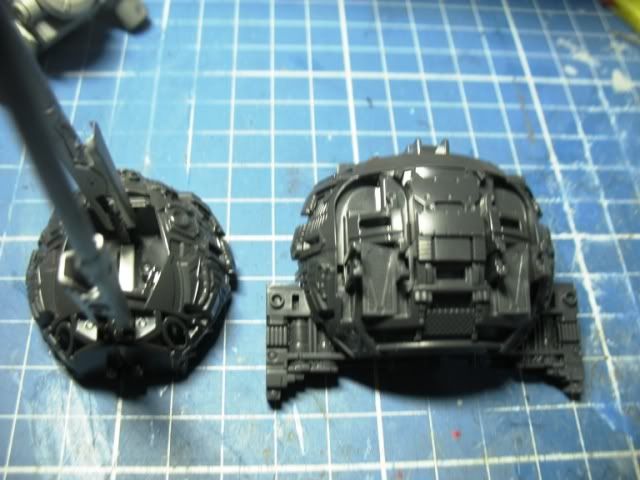
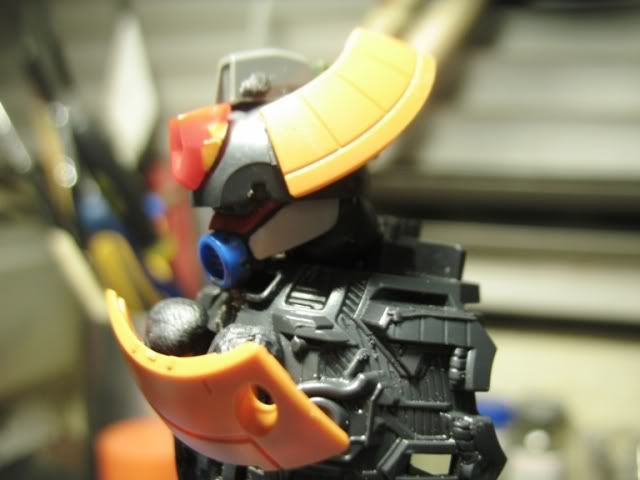
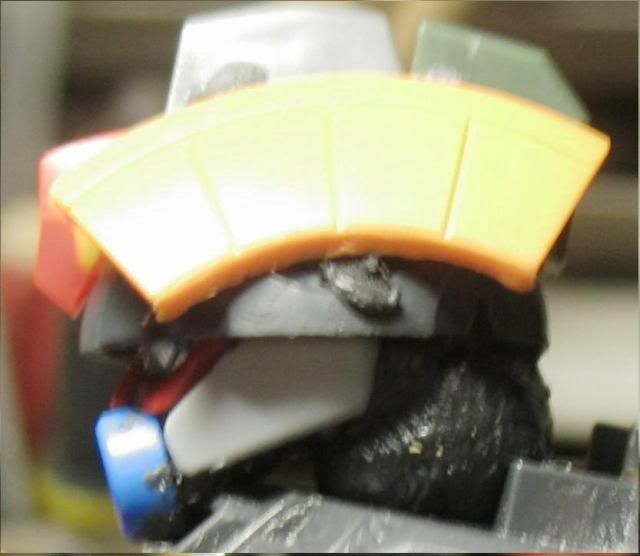
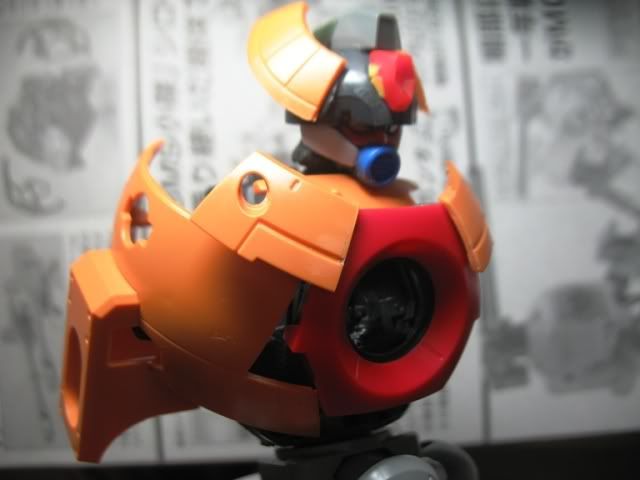
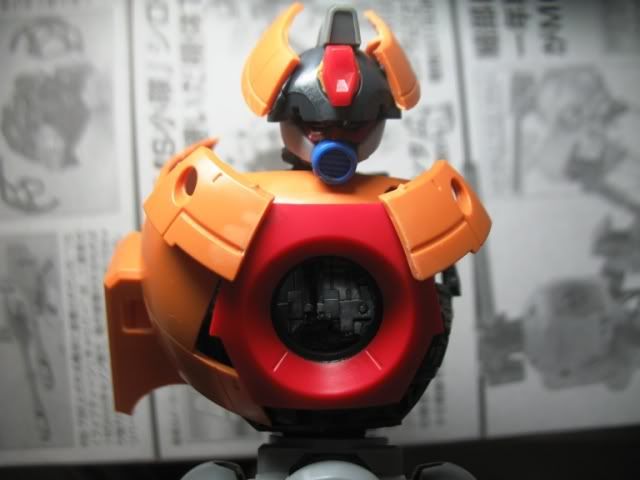
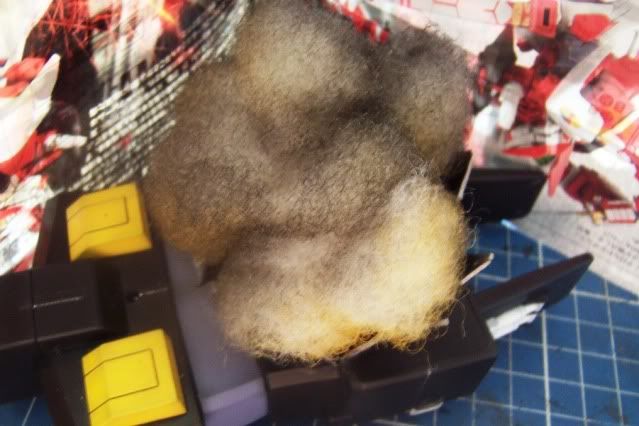
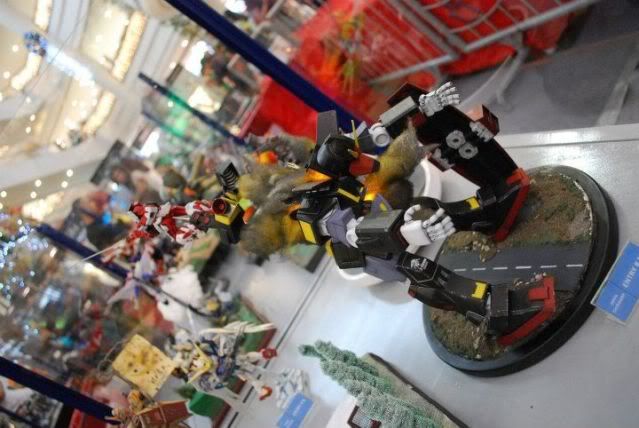
To begin, measure the amount of fiber fill needed for your desired effect, here I just painted it yellow and black. There are several techniques out there on how to shape the fiber fill, some use hair spray. I think the paint I used was good enough to stiffen the material. I wanted to depict another small gundam (astray red frame) went through the huge psycho gundam. Shown here is the back portion of the huge gundam.


Hot glued the magnets on the inside part where the battery would mount.

Make sure you tape the LEDs on the button cell. I did use ordinary clear tape during the competition proper. This is also known on the internet as a “throwie”. It’s where I actually got the idea since I’m not good at wiring LEDs. Plus of course the fact that having individual power sources for each LED would assure longer lasting lights.


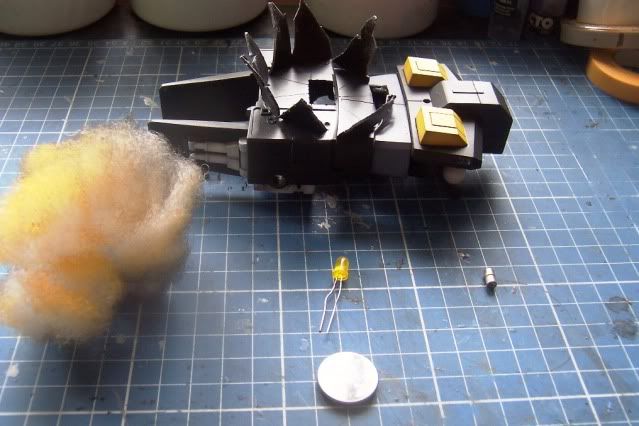
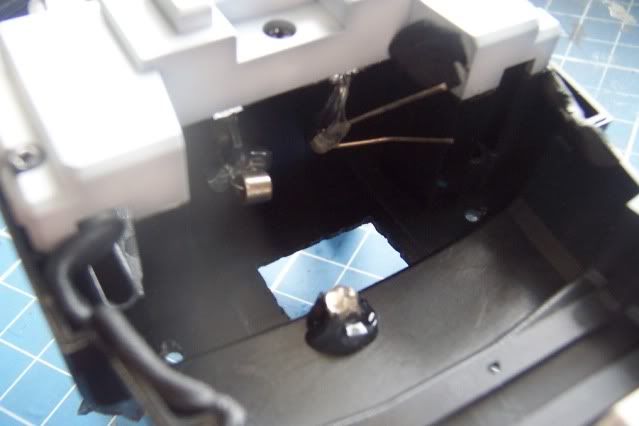
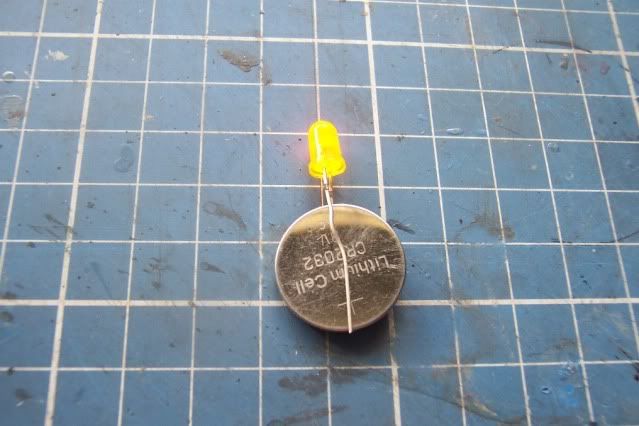
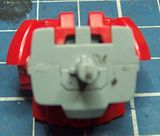
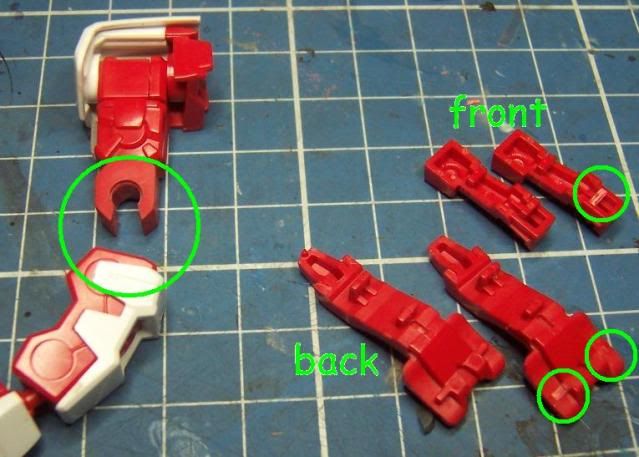
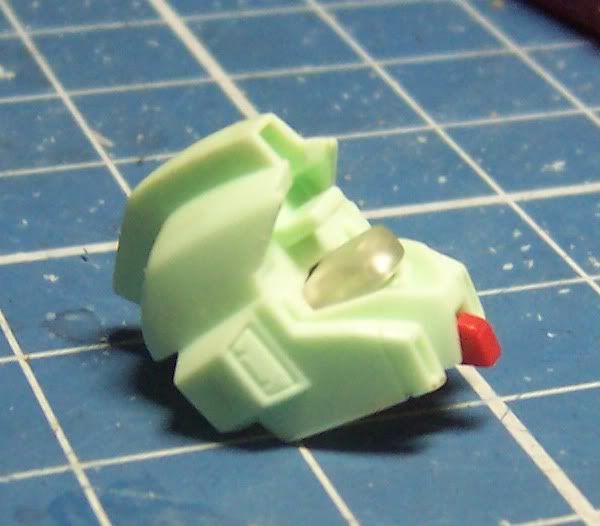
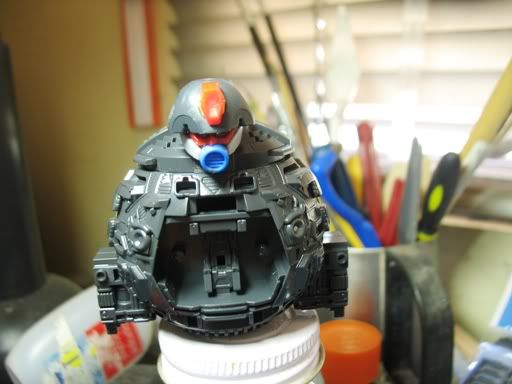
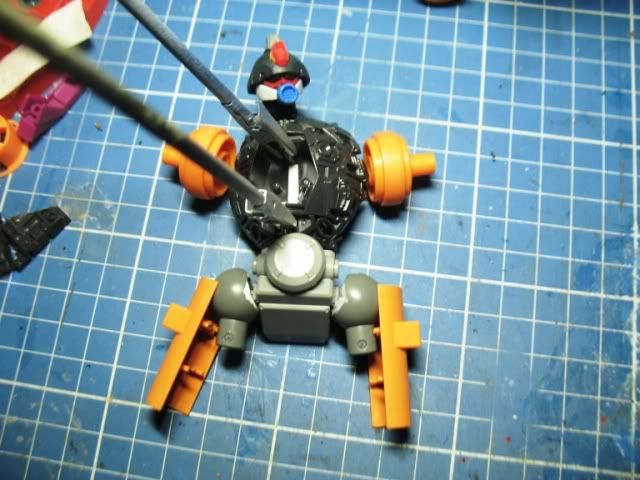
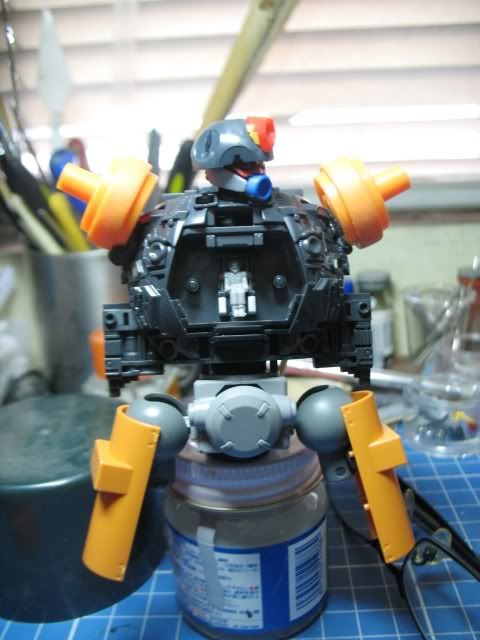
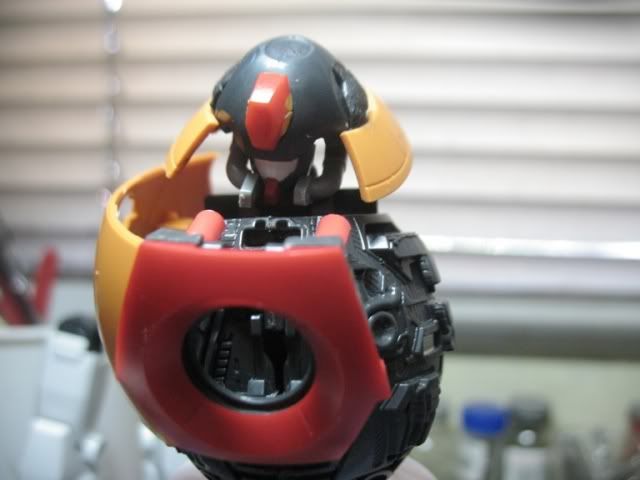
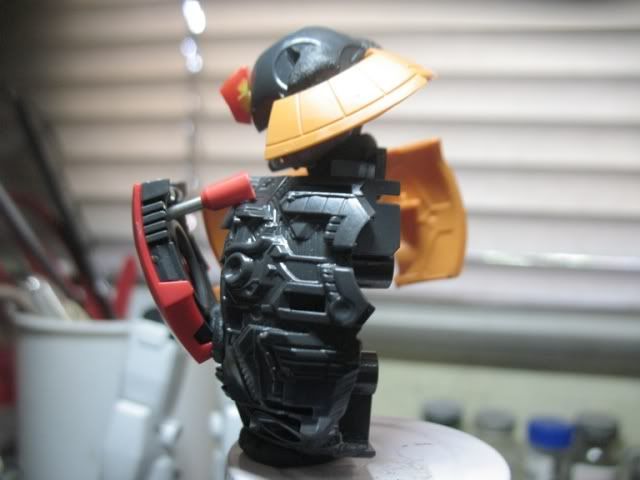
The batteries would easily attach to the magnets. On this project, I used a total of four individual LEDs.

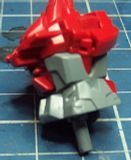
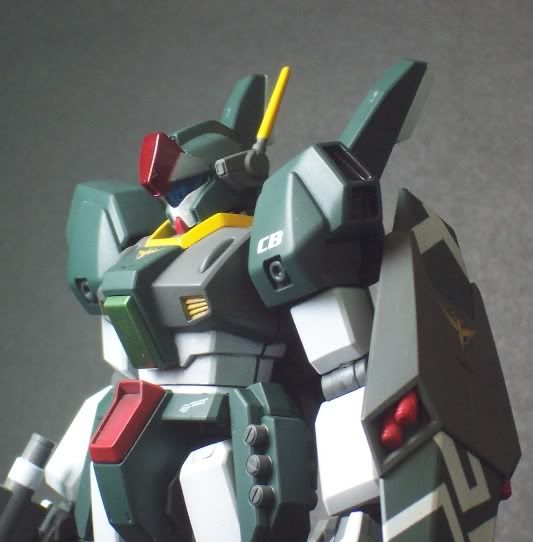
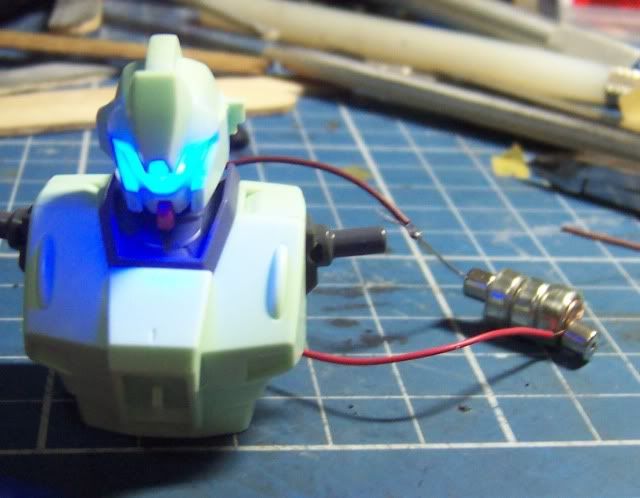
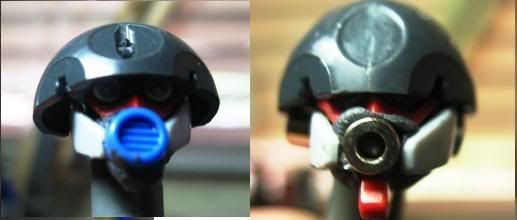
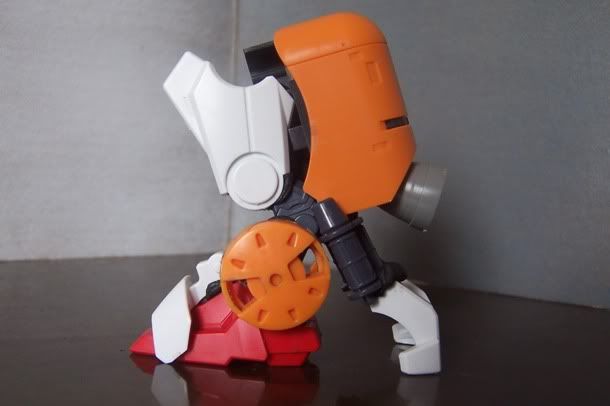
Here it is with lights off and on


I joined this in the recently concluded GBWC (Gunpla Builders World Cup) Philippines. Here it is on display at Robinson's Ermita
(photo credit goes to Club Gunpla)
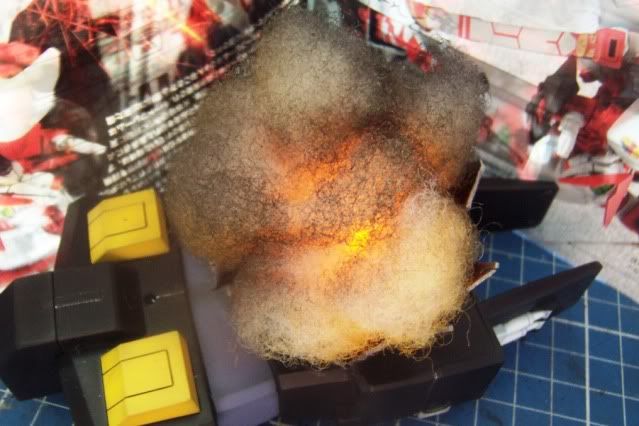
The battery lasted about 48 hours.

HG Astray Red Frame WIP


This is for the GBWC 2011  :D

The two parts of this torso is a nightmare for masking as well as the leg parts. Here are some pre paint mods done for easy slide on of parts once painted. Sorry for the poor quality pics, my cam is still busted.

Torso:

cut off all pegs on lower part (encircled)

Lower part

the L markings on the red part were filed down to accommodate those on the grey part

Let's....Volt.....IN!


Arm and lower leg mods


Sliding the red parts on the lower leg


The back wing scrapes with the red part as you slide it in, nothing a bit of sanding can't handle. The front redpart is quite tricky to pull out, you have to poke it from the back using your xacto or a pin.


more pre-paint mods, i'll let the pictures do the talking:


Toy Con 2011


Mark your calendar and celebrate with us for our 10th year anniversary this June 18-19, 2011 at the Megatrade Halls 1,2 and 3 in SM Megamall.

1/144 Jegan Cherudim

This is my first finished kit for the year 2011. Joined the Mechapinoy in-house competition and managed to land 3rd place.

Done two major things I  have not done on any of my builds before. First was the installation of LED
Hollowed out the head
Sanded the LED to fit the visor
Ran the wiring
Test Fit. New discovery using magnets as terminals.
Primed the kit
Second thing I tried with this build is the color modulation
Applied black on areas where shadows fall on an overhead light source.
Did this throughout the whole kit.
The outcome was not that obvious though. But I'm pleased with the results nonetheless.
Nuff talk,
More pics!
 
Photobucket
Photobucket
Photobucket
Photobucket
Photobucket
Photobucket
Photobucket
Photobucket


Photobucket
Photobucket
Photobucket
Photobucket
Photobucket
Photobucket
Photobucket
Photobucket
Photobucket
Photobucket


Here it is with the winning prize
That's it for now.