Barbatos Evangelion 01


This is my entry for the Gundam Model Kit Contest Philippines.
I call it the Barbatos Evangelion 01


 I started to put pics from the internet side by side to see what parts will be colored accodingly for the 1/100 Barbatos kit

Added my own touch of battle damage showing ripped metal just by using airbrush. A technique acquired from Youtube videos. 


Sorry no weapons included yet. I'll be adding photos of it after the competition is finished. 

Drop-in Mod for Airbrush Compression Spring

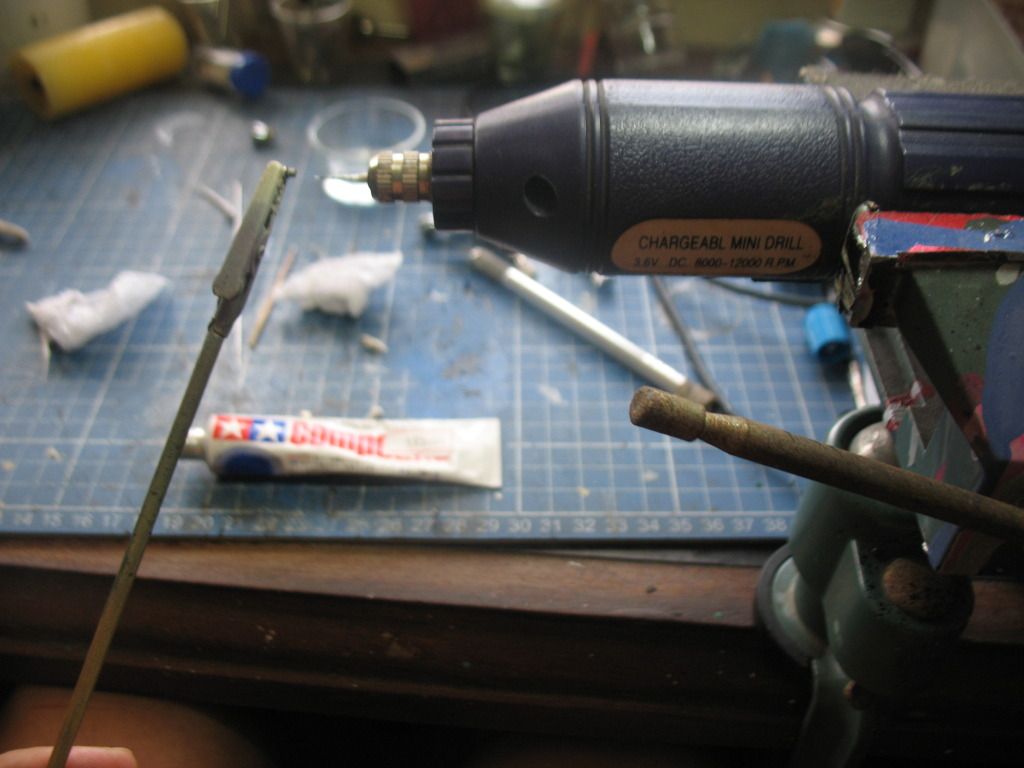
Chopping / cutting off the airbrush compression spring is one of the AB mods I wanted to try out.
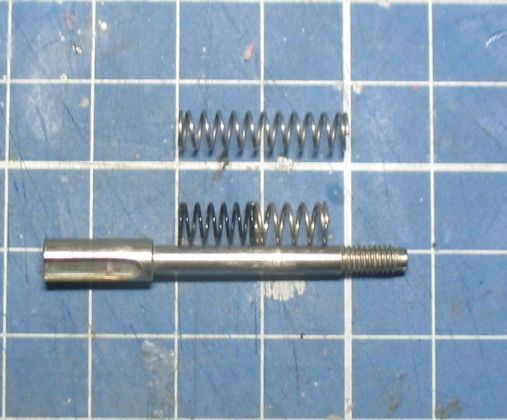
Since I didn't want to chop / cut my stock needle spring, I found out that the springs you find in a Rear Sliding Damper & Brake Set for Tamiya Mini 4wd (15198) are a perfect fit. 
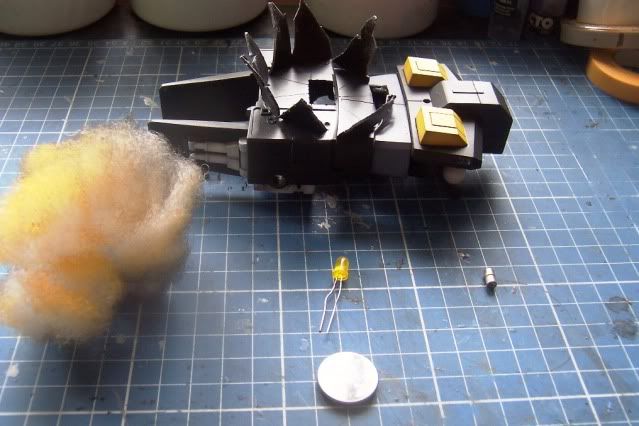
Here they are shown compared to the original spring
When put together, it is two coils less than the original, one too many than I hoped for.
If you are familiar with these springs, the black one is the soft spring, the silver is the hard one. 
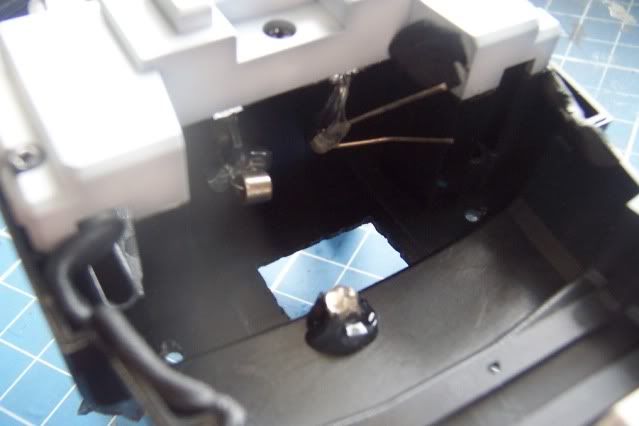
Putting my airbrush back together, it wasn't as bad as I expected. I've put the tension setting to maximum. There is a significant reduction in trigger tension, and the best part is, it had a longer trigger pull compared to the original spring. 
If the original spring gave you 1:1 feedback, this one is, I think, in the zone of 3:1 or 2:1. 

Compression Ratio being:
Trigger pull : Needle retraction

Why the certain effect? The black spring has to compress first before it gives a good push to the silver one.
I'm still trying to find a sort of bushing to place in between the springs so I can match the original spring length. 

Lessening the trigger tension can simply be achieved by adjusting accordingly.

UPDATE:
Found a suitable bushing from an insulated wire connector. Fits perfectly! 


Polishing Airbrush Nozzle

WARNING: Doing this might damage your nozzle. Polish at your own risk.
This is how I polished the inside of my airbrush nozzle. I was not satisfied with just thinner in removing dried up paint.

What I used:
1. Mini drill
2. Rolled tissue (if you roll it really fine, it would reach the outside of the nozzle)
3. Tamiya polishing compound

Taped the other end of the tissue to fit the drill chuck. Mounted the drill on a table clamp like so:

Using a toothpick,  I applied little amount of polishing compound on the tip of the tissue. Inserted the tissue to the nozzle first using a parts clip before turning on the drill. Never underestimate the power of the turning tissue. It could warp your nozzle. Polish lightly. I couldn't get a decent photo of the inside of the nozzle after polishing, but it was really shiny. 


UPDATE:
Managed to get a picture of the polished nozzle.
This is a 0.2mm nozzle
This was taken very close to my desk lamp bulb to get a good glimpse of the shine. 

Hobby Paint Mixer

Here is one I made using my old rotary eraser plus toothpick:

See Video 

Dry Brushing Using Ordinary Paper

You read that right! Ok, so here's a really simple way of doing weathering on your model kit. I sprayed on silver (industrial spray paint) on plain paper, let it dry, then cut a small piece.
Rubbed the painted side on the tracks of this kit (border break heavy guard).
The tracks are painted graphite black, the bottom one is the one rubbed with silver paint on paper. It's easy to erase if you overdo it. It's just like chalk, just use q-tip dipped in plain water. Seal with top coat or clear coat when you have achieved the desired effect. Careful not to put your finger print on the weathered areas.

*may not work with all types of paint. only those with "powdery residue" like flats, or in this case, silver.

Clips Parts Holder For Airbrushing

Here is a new batch i made for my parts holder, with a twist! This was reinforced using good old masking tape.

Compared to the ones most modelers use

So why did i even bother changing the position of the clips? Here's why:
The marked area is where you hold them when taking them on and off your styro base. As you can see, the one on the right gives easier access with minimized risk of touching other parts.

Here is a common scenario using the traditional set up:
You can't afford to mount them straight for fear of touching the cleaned or painted parts, thus wasting a lot of space. With the slightly modified clip, it saves you space and gives great ease in mounting and pulling out the clips.

Making an Explosion Effect


Materials needed:

Fiber Fill (those found in stuffed toys)

LEDs

Button cell battery (CR2032)

a couple of strong little magnets

some paint

To begin, measure the amount of fiber fill needed for your desired effect, here I just painted it yellow and black. There are several techniques out there on how to shape the fiber fill, some use hair spray. I think the paint I used was good enough to stiffen the material. I wanted to depict another small gundam (astray red frame) went through the huge psycho gundam. Shown here is the back portion of the huge gundam.


Hot glued the magnets on the inside part where the battery would mount.

Make sure you tape the LEDs on the button cell. I did use ordinary clear tape during the competition proper. This is also known on the internet as a “throwie”. It’s where I actually got the idea since I’m not good at wiring LEDs. Plus of course the fact that having individual power sources for each LED would assure longer lasting lights.


The batteries would easily attach to the magnets. On this project, I used a total of four individual LEDs.

Here it is with lights off and on


I joined this in the recently concluded GBWC (Gunpla Builders World Cup) Philippines. Here it is on display at Robinson's Ermita
(photo credit goes to Club Gunpla)
The battery lasted about 48 hours.